Integrating Invicti Enterprise with Kenna
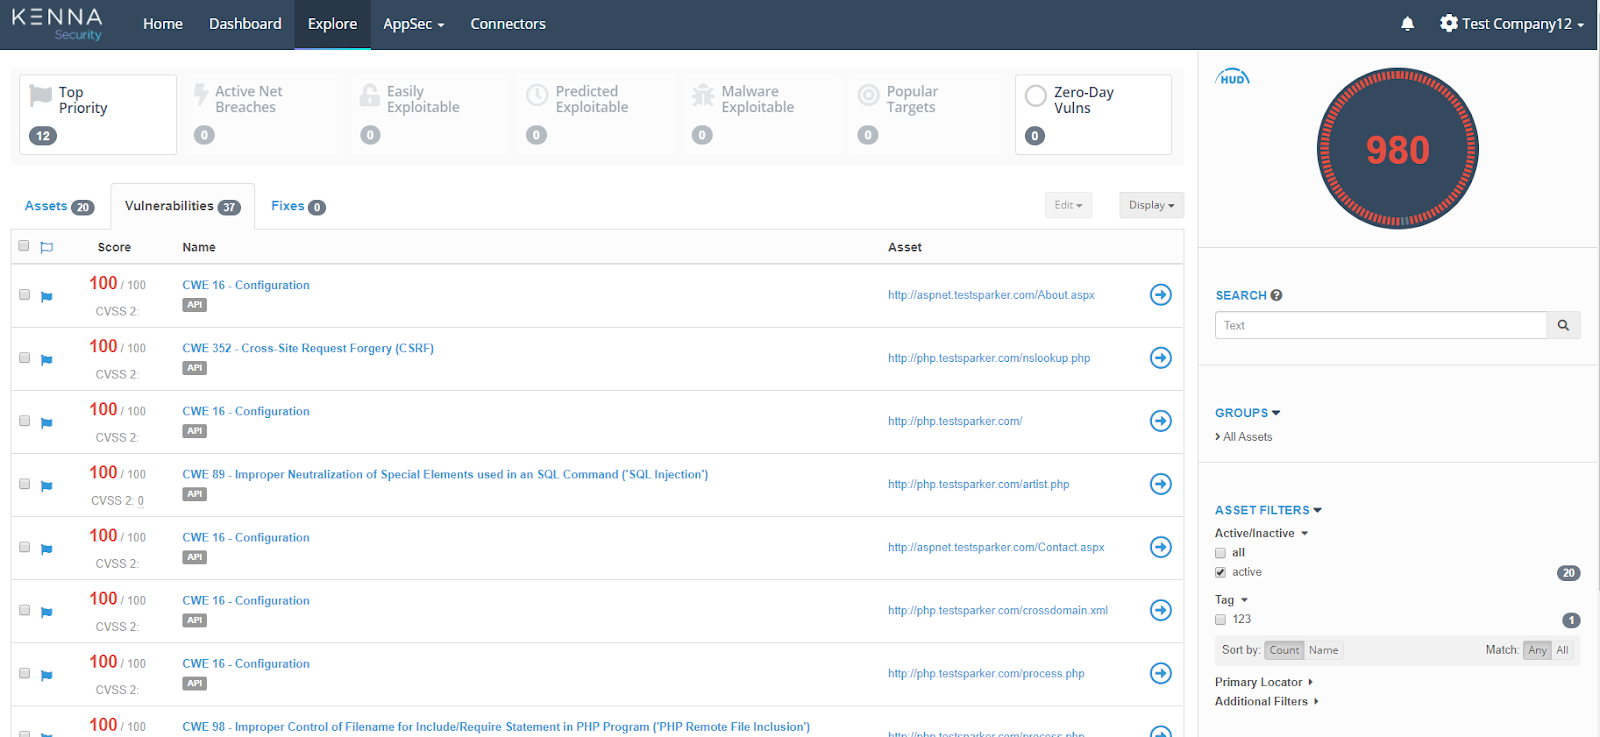
Kenna is an issue tracking system that specializes in risk-based vulnerability management. Kenna provides a security platform that calculates which vulnerabilities present the highest risk and de-prioritizes those that don’t, then notifies the right people of the top vulnerabilities to achieve the greatest possible cyber risk reduction.
This topic explains how to configure Invicti Enterprise to send a detected vulnerability to Kenna.

For further information, see What Systems Does Invicti Integrate With?.
Kenna fields
This table lists and explains the Kenna fields in the New Kenna Integration window.
|
Button/Section/Field |
Description |
|
Name |
This is the name of the configuration that will be shown elsewhere. |
|
Mandatory |
This section contains fields that must be completed. |
|
Instance URL |
This is the Kenna instance URL. |
|
API URL |
This is the Kenna API URL. |
|
API Key |
This is the API Access Key for authentication. |
|
Title Format |
This is the string format that is used to create the vulnerability title. |
|
Optional |
This section contains optional fields. |
|
Due Days |
This is the number of days between the date the issue was created to the date it’s due. |
|
Asset’s Application Identifier |
Enable the Set Asset’s Application Identifier to provide further information for the asset that the vulnerability belongs to. The options are:
|
|
Tags |
These are the asset tags, separated by a semicolon (;). |
|
Custom Fields |
This section contains user-defined custom fields. |
|
New Custom Field |
Select to create a new custom field. |
|
Name |
Enter a name for the new custom field. |
|
Value |
Enter a value for the new custom field. |
|
Dropdown |
Select the drop-down to change the input type. The options are:
|
|
Create Sample Issue |
Once all relevant fields have been configured, click to create a sample issue. |
How to integrate Invicti Enterprise with Kenna
- Log in to Invicti Enterprise.
- From the main menu, select Integrations > New Integration.
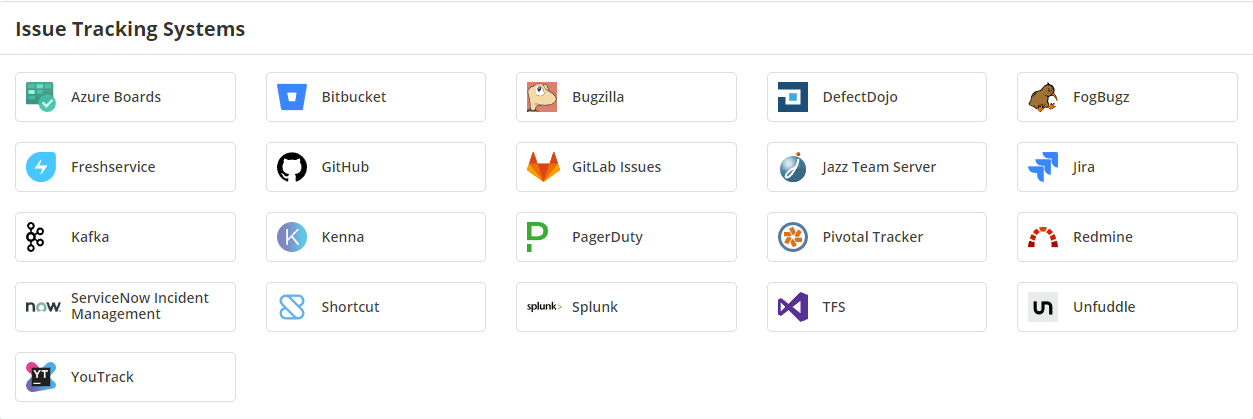
- From the Issue Tracking Systems section, select Kenna.
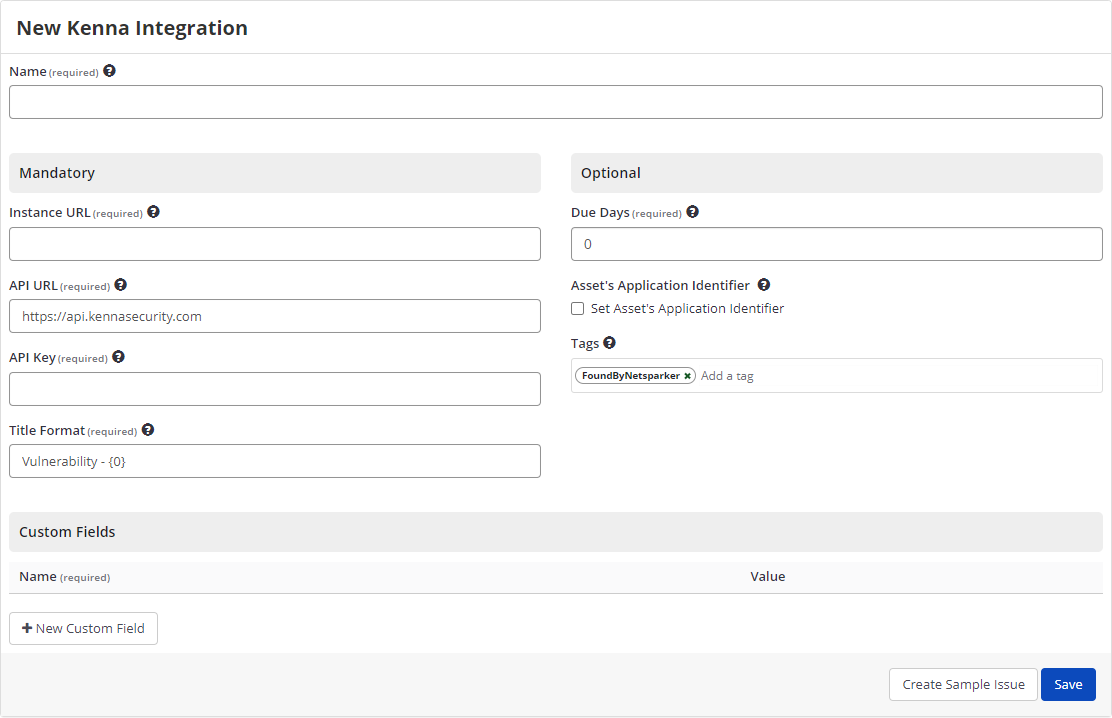
- In the Name field, enter a name for the integration.
- In the Mandatory section, complete the connection details:
- Instance URL
- API URL
- API Key
- Title Format
- Select Create Sample Issue to confirm that Invicti Enterprise can connect to the configured system. A confirmation message is displayed to confirm that the sample issue has been successfully created.
- In the confirmation message, select the Issue number link to open the issue in your default browser.
- If the Kenna integration is not configured correctly, Invicti Enterprise will correctly route the following descriptive error messages to you. Sample error messages may be displayed as illustrated:
- If the URL or API Key was entered incorrectly

- Select Save to save the integration.
How to Export Reported Vulnerabilities to Projects in Kenna
There are several ways to send issues to Kenna with Invicti Enterprise:
- Once notifications have been configured, you can configure Invicti Enterprise to automatically send vulnerabilities after scanning has been completed (see How to Configure a Notification to Report Vulnerabilities to an Issue Tracking System).
- You can send one or more issues from the Issues window:
- You must have Manage Issue permission.
- From the main menu, select Issues, then All Issues.
- From the Issues page, select one or more issues you want to send.
- Select Send To > Kenna.
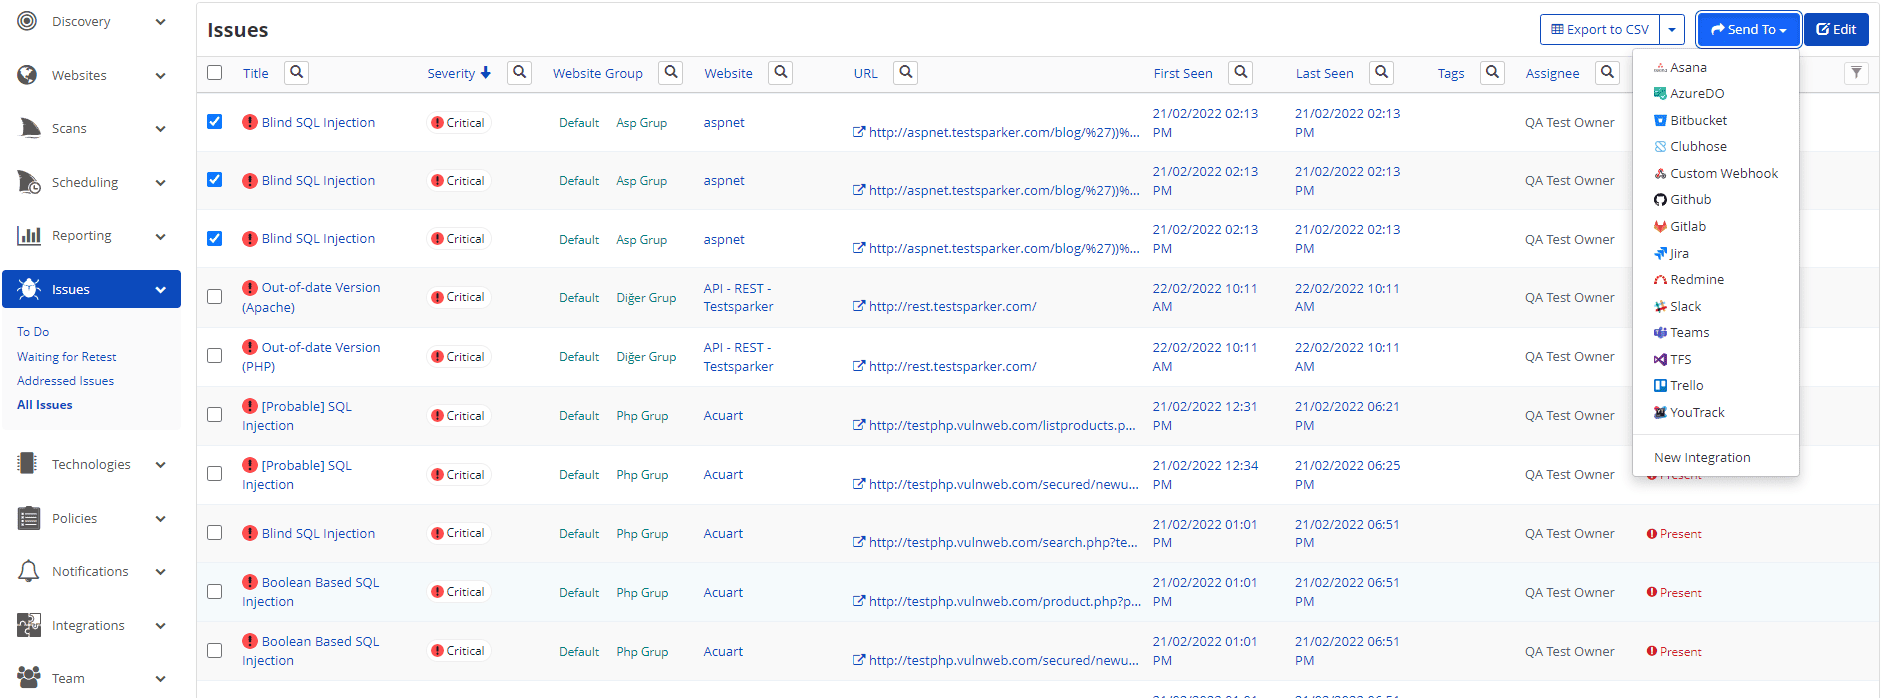
A pop-up is displayed, with a link to the issue you have sent to Kenna. If there is an error, this information will be displayed instead.
- You can send an issue from the Recent Scans window:
- From the main menu, select Scans > Recent Scans.

- Next to the relevant scan, select Report.
- Scroll down to the Technical Report section.
- From the list of detected vulnerabilities, click to select an issue and display its details.
- Select Send To > Kenna.
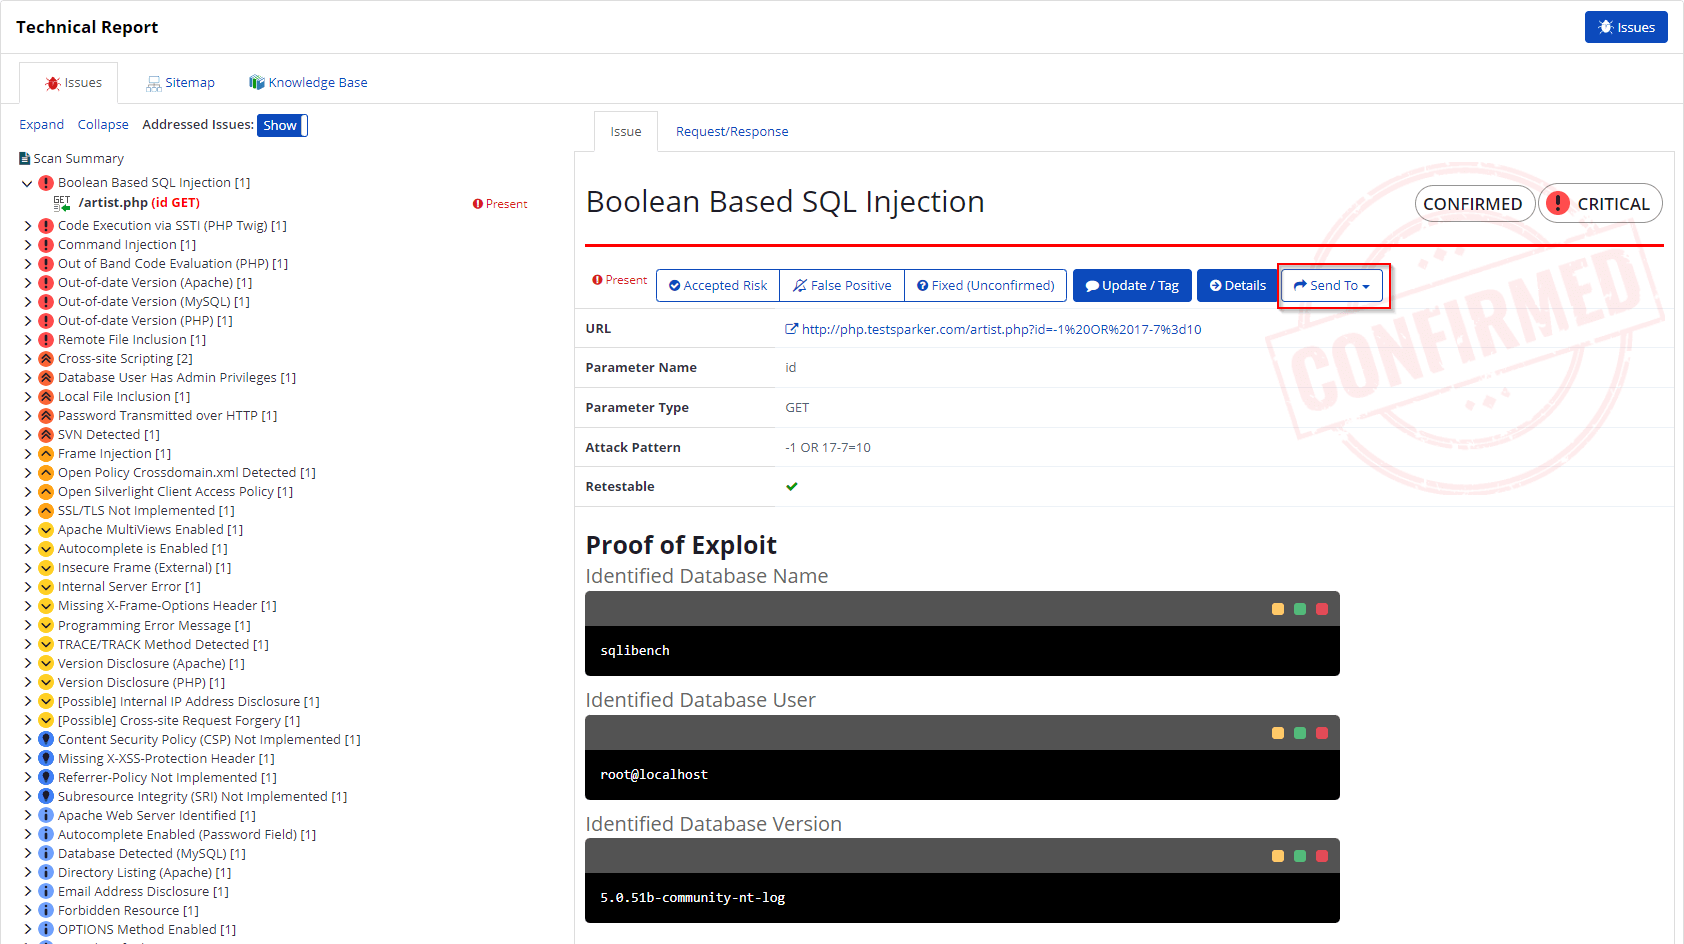
If you have previously submitted this vulnerability to Kenna, it will already be accessible. You cannot submit the same issue twice.
- After sending the issue, you can view it via Kenna.
